Welcome to my Crafting World!

Hi! My name is Maria, I am 34 years old and I'm a certified Craft-a-holic! LOL. I make different kinds of projects from Cards (which is my favourite), Art Tags, Mini Albums, Jewelries, Candles, Party Favours etc...

I've created this blog to share my projects and ideas to everyone who loves to craft.

Being a Certified Craft-A-Holic, you would expect to see me creating 3-4 projects simultaneously in one night. But of course, I don't finish them all in one night, esp. when I am doing a project that involves Mixed Media. I don't use a heat tool to dry my mixed media projects, as it ruins the project. Using a heat tool to dry your projects, tends to create a lot of air bubbles on the projects, which doesn't look nice. I find air dried projects to be more studier. It also give the project a neater look.

I craft every night, I would make one finished Card, one unfinished Album (which I do finish later on, after the drying when I am using Mod Podge or after cutting all the fussy cuts) and one unfinished Mixed Media Project (which I do finish later on, after the drying or so). Then the next night I will continue doing my Album to try and finish it (depends also if I am still using Mod Podge), then my Mixed Media (depends if I still need to use other Wet Medium) and another Card or I will go and jump on my fourth project. Believe me, I have a lot of projects in mind all the time. What I always do is Sketch or Write down my projects using my Phone, so that I won't forget it. I am not good in drawing I just Doodle it. LOL. If crafting is an Office Job, I will be very happy to go to my workplace everyday. I usually craft at night, due to the fact that I am a stay-at-home mom and I have an almost 2 year old son who loves to craft with me. Believe it or not, he does the Mod Podging for my projects, of course with my guidance, and some paintings too. But since I'm a confessed Craft-a-holic, I try to finish every house chores in the morning before my son comes back from the Nursery so I can craft! I take advantage of watching TV with my husband and with my son by fussy cutting while watching and I also take advantage of texturing or gluing onmy projects while cooking. "Imagine your life with me, if I'm your wife! LOL". But nonetheless. I don't forget my Duties as a Wife and a Mom. I see to it that everything is in order everyday before I craft, food is ready, house is clean and my son is well fed. Playtime with my son is crafting with him, so I don't have a problem at all, because he enjoys it, or I take him out, which he loves to do as well.

I hope you all will enjoy my posts. Please do leave a comment, follow me or add me to your circle.

Happy Crafting!

Thursday, March 17, 2016

One Die Set Card - May All Your Wishes Come True


Good day Crafters!

Today I wanted to share a Card using one Die Set.  I know many of us don't own a lot of dies, and it will be very practical to have one set of die that can do it all.   I was playing with my dies last night and I ended up making a Card using one Die Set instead of mixing around every die set that I own.   In this project I have used Spellbinders Nestabilities - Marvellous Square to make a background a frame and embellishments.  So here it goes....


STEPS ON HOW TO MAKE THE CARD:

Gather your materials and tools.  Spellbinders - Marvellous Square Die, Cardstocks (I have used white and glitter carstocks), Stamp (I have used Fiskars - Wishes), Inkpad (I have used Memento - Tuxedo Black to stamp and Embossing Ink to ink up the Edges), Rangers Perfect Pearls, Flatback Pearls and of course your die cutting machine, adhesives and your paper trimmer.

Spellbinders Nestabilities - Marvellous Squares

I die cut a piece of white cardstock and trim the edges like so.

I die cut six pieces of Glitter Cardstock like so.

I die cut 2 frames using a white cardstock like so.

I die cut a glitter cardstock like so.

I die cut a white cardstock, stamped it with my memento inked and fiskars stamp, inked it with my embossing ink and sprinkled some perfect pearls like so.

I cut out a glitter Cardstock to layered my background die cut using a wet adhesive like so.

Then using a double side foam tape I popped my other die cuts on top.

I have arrange my Frames like so.  Remember to measure the length of your background before sticking all them together.
I layered them on top of my background layering like so.
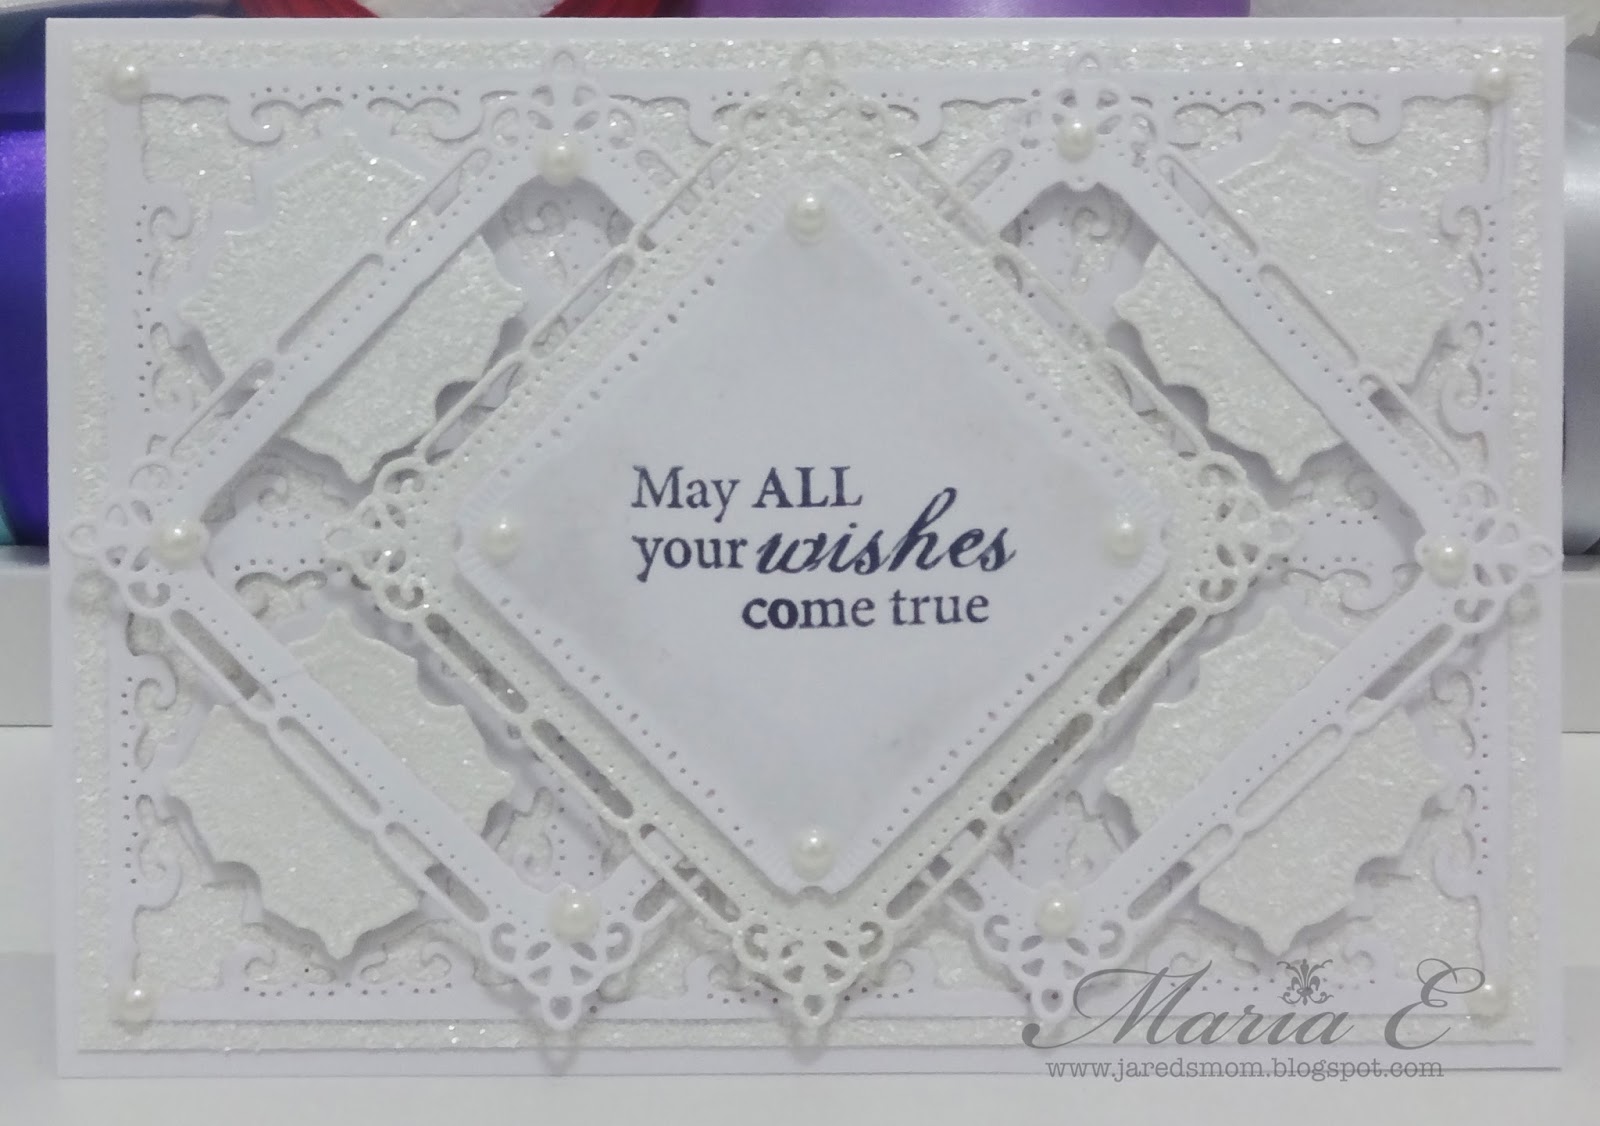
Then I pop up my sentiment using a double sided foam tape and embellished the card with some pearl.

I hope you all like it!  Enjoy your Weekend!!!

Happy Crafting! =)


No comments:

Post a Comment

09 10